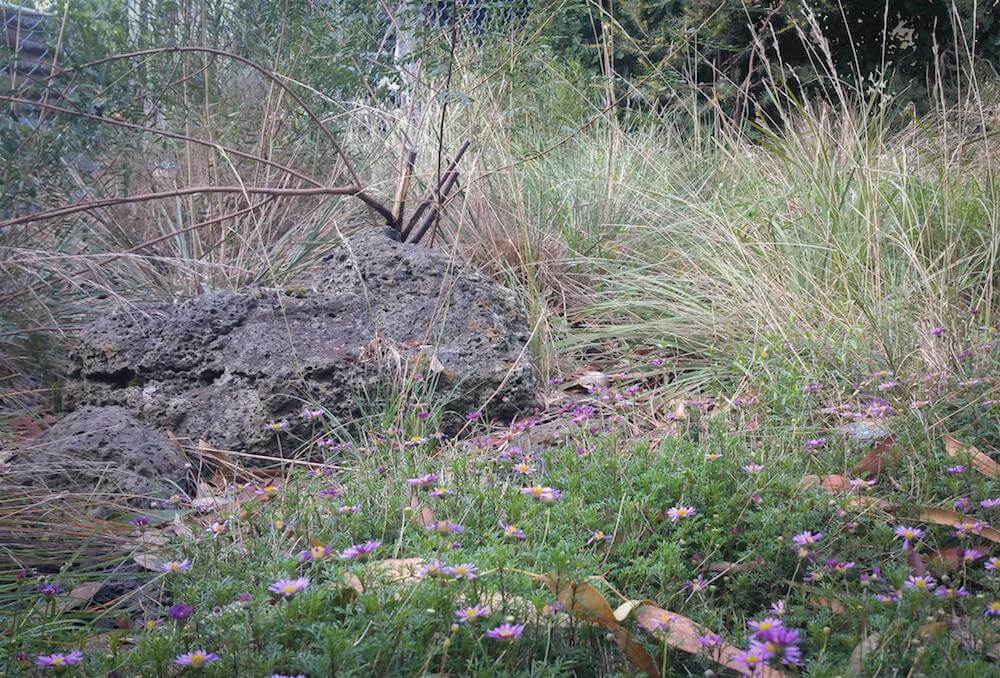
Stone is a natural part of the Australian landscape and provided shelter and habitat for insects and lizards
Dig holes about 30cm deep around the garden. Remove mulch in the areas before you start. Be careful not to damage tree roots or any infrastructure you may encounter. Service lines are often much closer to the surface than expected. Stop if you hit a subsurface obstacle and move your hole.
Choose locations where you think soil conditions may vary. For instance, an area of garden which has previously been a pathway will be significantly more compacted and far less permeable than an other areas of your garden. An area next to a old brick wall may be significantly different as the lime has leached out of the mortar and into the soil. An area that has been previously landscaped will potentially be different and is also worth checking. Any areas where you hit a hard layer (clay/rock) less than 20cm deep are worth noting.
Collect a handful of the top soil out of each hole from a depth of between 5cm and 10cm. This is a depth where many of your plants roots will feed and soil at this depth is a good indicator. Do not let any mulch into your soil sample. The top of the holes is from the soil level (not the top of the mulch level).
A series of easy tests can now be undertaken using the soil collected and holes dug each test site. In the next series of blogs I am going to explain the tests I use and how you can conduct the same tests in your garden. Please check back in soon!
Note: If you don’t have a garden base plan please refer to previous blog
Understanding your garden: Creating a Garden Base plan & site assessment 101

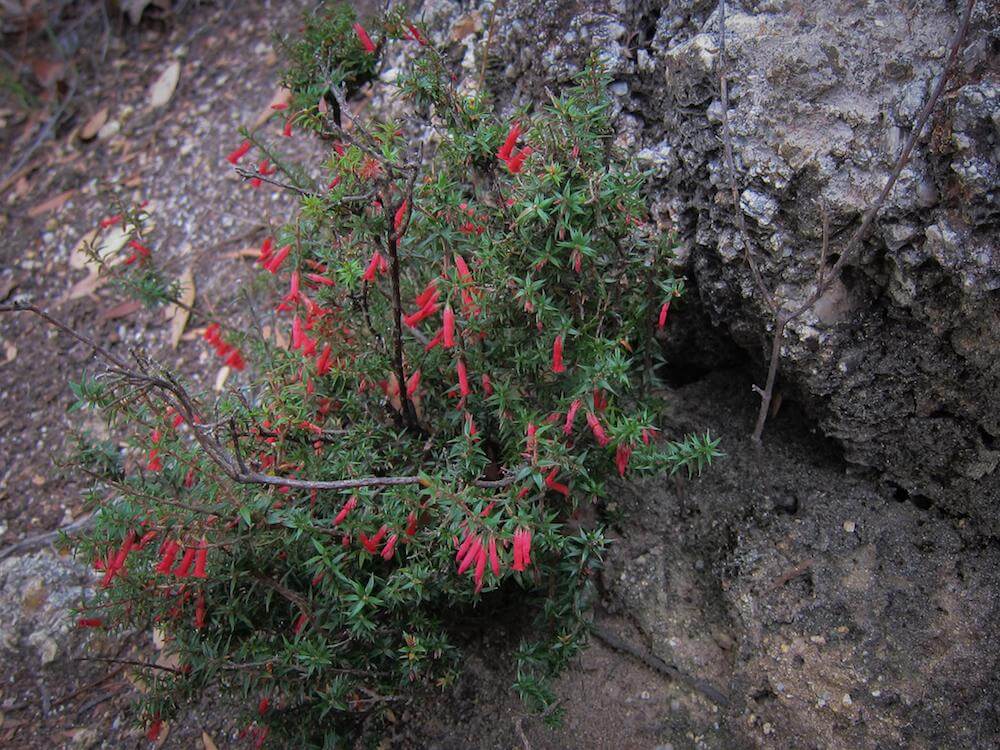
Cracks in large rocks create micro climates for plants to grow


You must be logged in to post a comment.